Welcome to your mini-course.

In #findingmyshoulders, we will work on understanding a bit better what the shoulders can do for us in a handstand. How this affects how we look and how sturdy we are.
Preamble
If you have never worked with me before, here is an important forenote: I don’t believe in one-size-fits-all methods, and this will be specifically illustrated in this course.
When it comes to shoulders, there is what one should do to achieve what can be defined as being a straight line.
And there is what you should do to hold a handstand, given your experience, your body, your current skills, your trauma history, your goals.
Playing with different variables such as shoulder elevation and depression, I want you to find the combination, in terms of shoulders movement, that maximises your success at holding a handstand.
Here comes an uncomfortable truth:

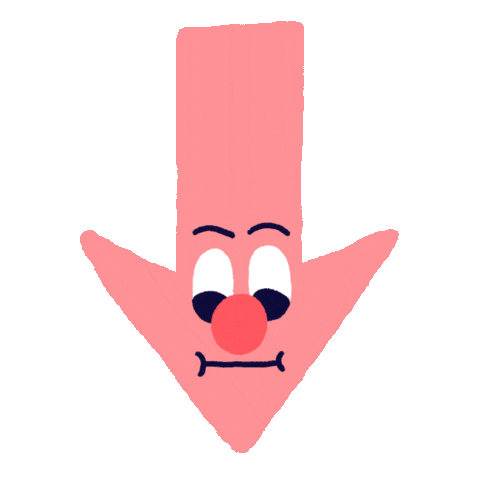
To look like this…
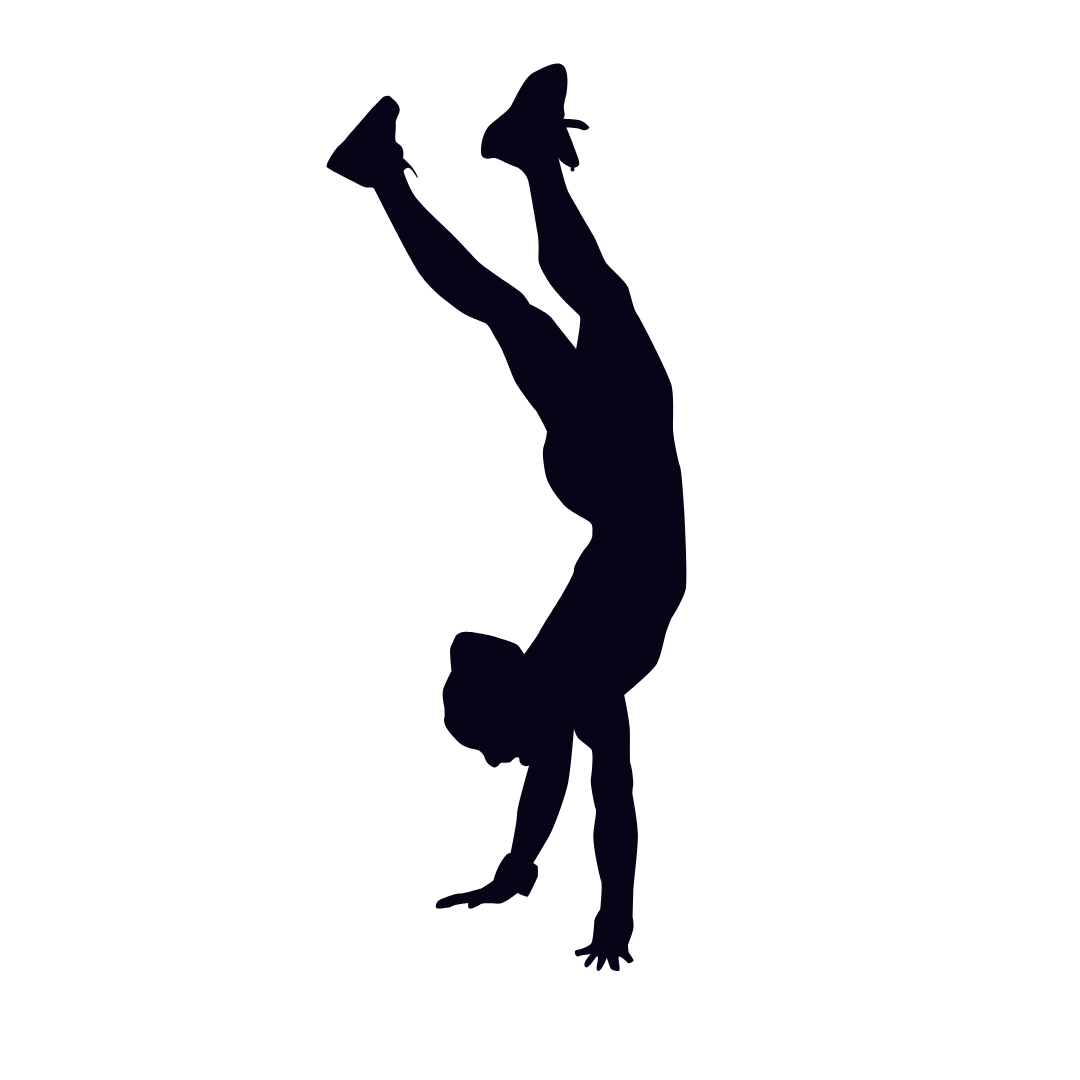
You’re probably going to have to master this first
This means two things:
1) Don’t compare yourself too much to your friends. Their bodies may need something different than you do.
2) Some of my drills are enquiry-drills. I don’t solve the math equation for you, because that wouldn’t teach you maths. Those drills will require patience and mindful exploration.
Last but not least, when we play with shoulders, we also directly play with alignment.
In my book, shoulders are the driver of the car when it comes to handstands. Control them, and you control 80% of your handstand. Their impact on alignment is quite dramatic, way, way more than what a pelvic tilt or a pointed toe could ever do.
Here is a video that shows that.
As you can see, as we change what the shoulders do upside down, and just that, a lot happens:
the head moves
the pelvis moves
the legs move
the line changes
Back to finding your shoulders.
Don’t try to find the shoulder position that will make you look the straightest if you don’t have a consistent handstand in the first place.
How consistent you ask?
If you don’t have a 10 second straight handstands, 7 times out of 10, look for your shoulder position, the one that maximises your chances at holding that handstand, not the straightest shoulder position.
With all that said…
Let’s start with the scapula.
Three basic scap/shoulder movements
What actually happens in your shoulders when you go upside down is pretty complex and amazing.
For simplicity sake, we will for now narrow our awareness on three patterns made famous by the movement culture:
→ bringing the arms overhead, or shoulder flexion (vs extension), which we commonly define as “opening the shoulders” and “closing the shoulders”.
→ bringing the shoulder blades away from each other or closer together, or scapula protaction / retraction
→ bringing the shoulders up to the ears or as far away from the head as possible, or scapula elevation / depression
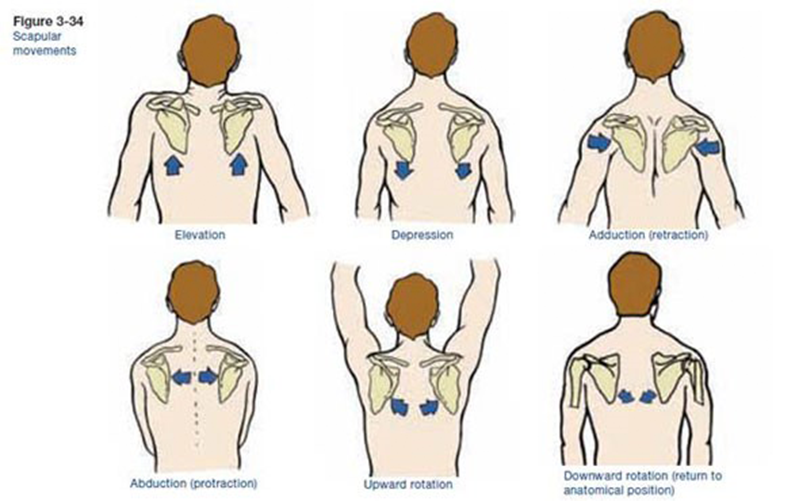
from ace fitness
Before we get into the nitty gritty of things, let’s re-establish a truth:
The ONE shoulder pattern that really matters the most is Shoulder Flexion - Extension.
Don’t lose sight of that.
Now, to experience those three shoulder patterns.
Standing up first, then upside down.
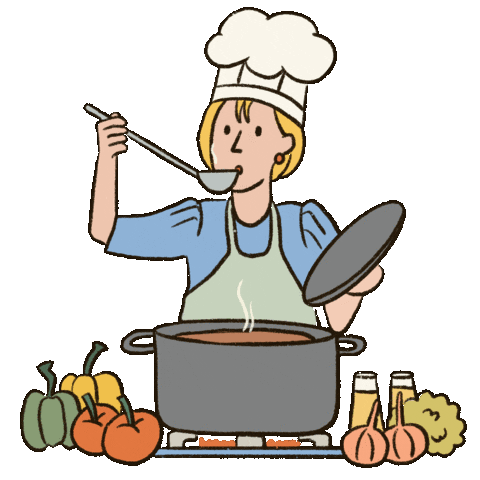
Cooking your first soup (enquiry drill)
If we thought of each shoulder pattern as one ingredient in a meal we would cook.
And we know that shoulder flexion is desirable because it allows the pelvis to be stacked overhead (cf, the 3 shoulder position video from above).
We would have four different ingredients left at our disposal:
scapula elevated or depressed
shoulder blades away from each other (externally rotating the shoulders) or closer together
I would like you to put on your chef’s hat, try assembling those ingredients together in different ways, and assess which combination allows you to open your shoulders more comfortably.
Do you flex your shoulder better with elevated or depressed scaps?
Do you flex your shoulders better with protracted or retracred scaps?
Try standing up first, back facing a wall.
Then confirm upside down.
NB: yes, there is a mechanical, anatomical answer to this. But your body isn’t the one that we see in anatomical books. Most people would answer a very specific combination.
Most, but not all.
Which one is yours?
At the end of this enquiry, I need you to have the following formula, or recipe, crystal clear:
When I elevate or depress my scapula, and
When I bring my shoulder blades together (or further away from each other)
I can open my shoulders better 🥳
Assessing your ROM
Now that we have found the two catalysts to our shoulder flexion, ie the two ingredients that seem to help you bring your arms higher up, behind your ears, we can assess whether you have good mobility in your shoulders, or not.
Good mobility will be defined as being able to reach a 180 degree angle between the torso and the arms. This is what we will then call open shoulders.
Some of you will have hyper-open shoulders, others more closed shoulders.
To find out, try this:
You have open shoulders.
Great, you don’t have any mobility issue restricting your alignment. That means that the straightest handstand is at your disposal. That is, if you can tap into your range of motion…
A small portion of open shoulder people will have hyper flexible shoulders. In that case, the angle between the torso and the arms can go way past 180 degrees.
If that’s you, you will have to teach yourself to not go fully open.
The desired shoulder angle won’t feel like something you end up in, a grounded, anchored position, but something much more elusive.
The bad news is that this may take a bit of time.
The good news is that hollow back variations will probably come easier to you.
You have closed shoulders.
It’s all good.
Your handstand practice should suffice to gently open the shoulders in time.
This means, however, that your pelvis will struggle to align itself perfectly over the shoulders (you are stuck in position 2, or 3, as per the video above).
To find an efficient handstand, you will either need to:
extend one or both legs more out, or
arch/tilt pelvis, if possible and comfortable, to bring your center of mass over the shoulders.
Taping into your newfound shoulder flexion
We’ll finish this exploration with one of my devilish drills that I like torturing my astronauts 🚀 with.
If you have never worked with me
This is an invitation to explore the relationship between your shoulders (that you can now anchor, and open better), your pelvis position and your leg position.
In this drill, your goal is to be light against the wall at all times.
So light that you could take off the wall.
If you are a student of mine
Re-discover this drill by now adding to it your open shoulder recipe.
Assess success with hold duration, ease of take-off, speed of take-off, awareness of playground, sense of solidity.